Select your store for Click & Collect*
Find your nearest store
Change postcode

Mulled wine bubbling away on the hob, cheeseboards at the ready, Michael Bublé playing on the radio - it can only be Christmas.
And with that comes one of the most exciting parts of the festive season - decorating the Christmas tree. As exciting as it is, however, it's easy to end up with a tree that looks a bit thrown-together if you're not sure where to start. The good news is that a beautiful-looking tree comes down to a few simple steps done in the right order, rather than any special Christmas decorating magic (although that always helps!).
Here, The Range's festive styling team walks you through the full process, from prepping your tree to adding the finishing touches.
Before steaming ahead with the fun bit and getting your decorations on, take a few minutes to prep the tree itself. If you're using an page, gently bend and separate each branch and needle away from the centre, working from the bottom up, to give it a fuller, more natural shape. Even with a showstopping colour scheme, a flat, uneven Christmas tree isn’t going to look great.
Also have a think about where the tree is going before you start. A tree in a corner only needs to be decorated on the visible sides, so you can save baubles by hanging them at the front and sides rather than evenly all the way round. A tree with all-round visibility, such as one in the middle of a room, needs decorations placed evenly on all sides for it to look its best from every angle.
We’d always recommend adding your lights before anything else. Working from the inside of the tree outwards, wind your lights around each branch rather than just draping them over the surface - this gives a much fuller, more even glow once everything else is added.
Before you start, make sure to quickly check over your light wires for any damage or exposed sections, especially if you're reusing lights from previous years, to keep your tree looking as good as it should.
Not a fan of untangling lights? You can skip the step altogether with our collection of pre-lit Christmas trees, which come with lights already built in and evenly spaced, so you can go straight to the next step.
Looking to make your tree stand out from the rest? Before reaching for baubles, some page123889|ribbon or a thin garland woven through the branches can add real depth to your tree. Work it in and out of the branches in a loose spiral from top to bottom, rather than wrapping it tightly, so it sits naturally within the foliage rather than on top of it.
Now this is the step which can just about make or break your Christmas tree (not literally, don’t worry!) so we’d recommend sticking on the radio and taking your time with this one.
Start with your largest baubles first, placing them deep into the tree near the trunk, on sturdy lower branches that can take the weight. This gives your tree a sense of depth rather than everything sitting on the surface.
Work in odd-numbered clusters of three or five rather than spacing single baubles evenly - it looks a lot more natural than having even numbers throughout. Fill in the gaps with medium and small baubles towards the outer branches, using them to fill any gaps left by the larger ones.
And make sure to take a step back regularly to check for gaps or areas that feel too heavy, rather than only looking at the tree up close - while also admiring your work, of course.
Explore our full collection of Christmas baubles, including statement baubles for mixing and matching, and bauble multipacks if you'd rather have a coordinated set ready to go.

To tinsel or not to tinsel? It’s a divisive question up and down the country, but there's no right or wrong answer here - it all just comes down to personal style. A light drape of tinsel around the outer branches can add extra sparkle and texture, especially if you're going for a fuller, more timeless or nostalgic look. If you prefer a cleaner, more minimal tree, skipping tinsel altogether and letting the baubles and lights do the talking will feel more contemporary.
We’re not going to tell you which is better, but do try to keep things from getting too frosty - it is Christmas after all!
Once your baubles are in place, finish it all off with a tree topper to complete the look. A classic star suits a more timeless tree, while an oversized bow is perfect for those that want a statement finish. As a rule, a smaller or slim tree tends to suit a neater, more compact topper, while a taller, fuller tree can carry something larger.
Now you might think that a tree skirt or collar isn't exactly essential to your setup, but it's a must if you want to take your tree to the next level and hide your tree base. Choose a design that ties in with your bauble and ribbon colours for a coordinated finish from top to bottom.
As a general rule of thumb, use 8 to 12 baubles per foot of tree height. A standard 6ft Christmas tree needs between 48 and 72 baubles, depending on whether you're also adding ribbon or larger statement ornaments.
Aim for around 100 lights per foot of tree height for a fuller glow, though this can vary depending on how bright you want your tree to look.
Use the table below as a quick reference for your tree size:
|
Tree Height Recommended |
Recommended Lights (LEDs) |
Baubles |
Ideal Ribbon Length |
|
5ft |
500 |
40–60 |
5–7 metres |
|
6ft |
600–800 |
48–72 |
7–9 metres |
|
7ft |
800–1,000 |
56–84 |
9–11 metres |
|
8ft+ |
1,000+ |
64–96 |
12+ metres |
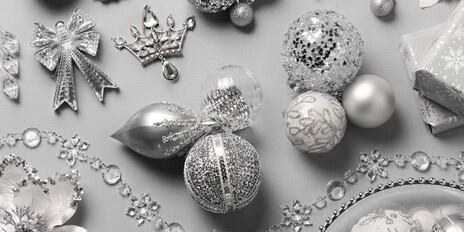
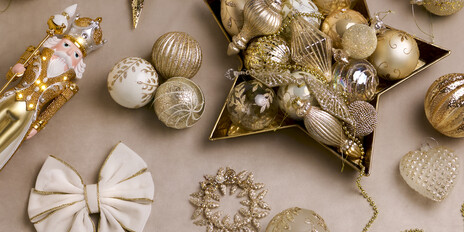
If you’re all about a matching aesthetic, pick a colour palette for your tree that ties in with your other Christmas decorations, rather than treating the tree as separate from the rest of the room. If your garlands, wreaths, or table decorations lean towards gold and red, match that in your bauble and ribbon choices. If you're decorating a smaller space, keeping your tree and room décor in a similar tone will help everything look that bit more polished.
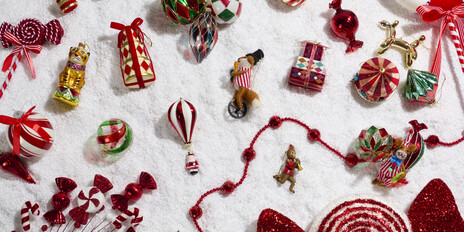
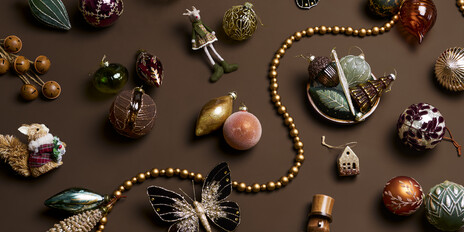
If you want your tree to feel on-trend, a few looks are going to be especially popular this year. Deep jewel tones like emerald and burgundy, paired with warm gold accents, are as rich as they are elegant. At the other end of the spectrum, a nostalgic, maximalist look inspired by 80s and 90s Christmases - think plenty of tinsel, playful colour, and a less "matchy" approach - is also making a comeback for anyone who wants their tree to feel more personal and less picture-perfect.
Once you've followed these steps, all that's left is to sit back, plug in the lights, and enjoy your finished tree - happy Christmas!